
Step 1: Nail Your Keyword Before You Touch a Tool (10 Minutes)
Everything else in this workflow rests on a single decision. Choose the wrong keyword and no amount of optimization downstream rescues you.
How to Pick a Keyword Your Page Can Actually Rank For
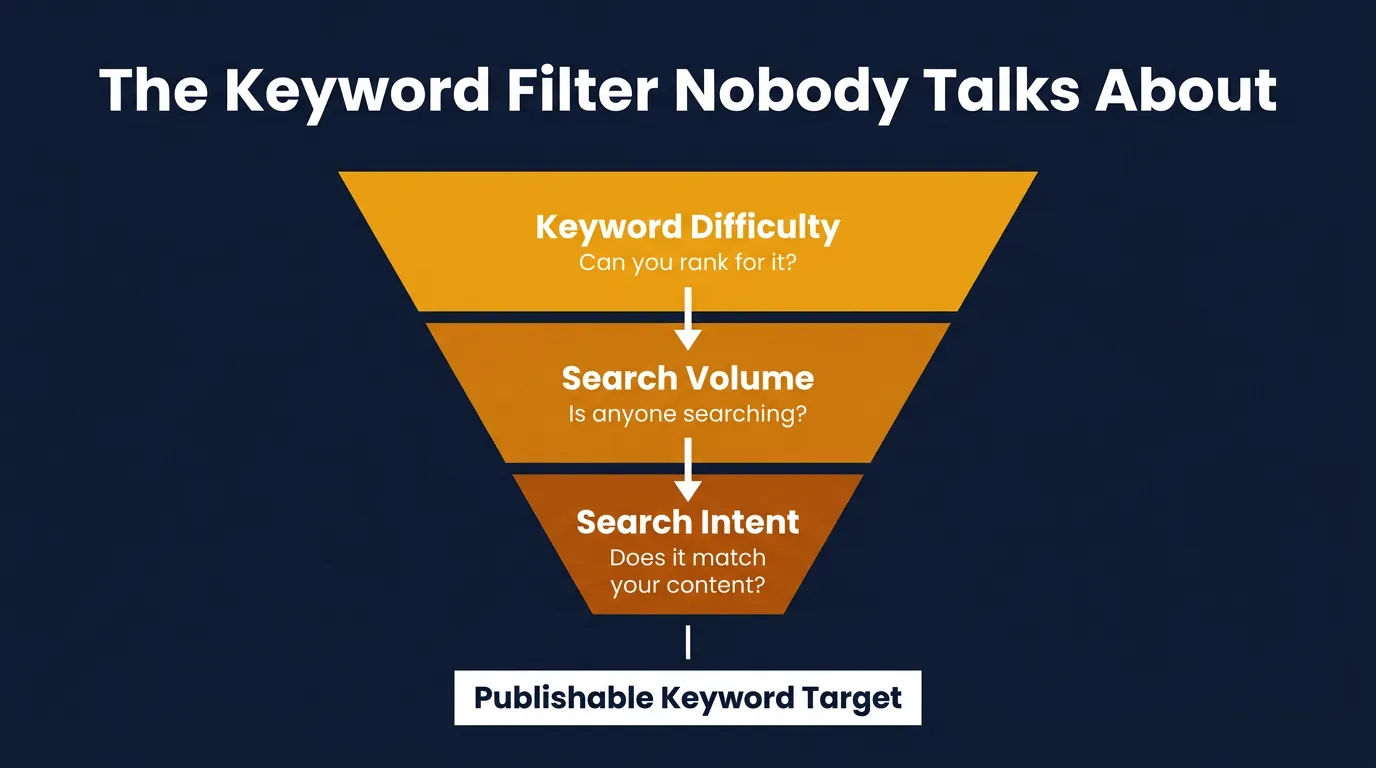
Start with Ahrefs or Semrush before opening anything else. Filter by keyword difficulty under 40 and monthly search volume above 500. Those two filters shrink your list from overwhelming to genuinely workable. One primary keyword per post (secondary keywords come in Step 3 during the brief).
Intent match is the third filter, and most bloggers ignore it entirely. Informational intent signals a searcher who wants to learn something. Commercial or transactional intent means they’re close to buying. Align your content type to that intent signal, or Google won’t surface your post no matter how solid the writing is.
Step 2: Read the SERP Before You Write a Single Word (15 Minutes)
SERP analysis is what separates content Google rewards from content Google ignores.
The Four Things You Must Extract from Every SERP Before Briefing
- Search your target keyword and open the top five organic results.
- Note the dominant content format – listicle, how-to guide, or comparison post.
- Count the average word count across those five pages.
- Map the heading structure so your brief mirrors what’s already working.
The most valuable thing you’re hunting for is a content gap. Look for angles, subtopics, or questions none of the top results fully address. That gap is your differentiation signal. Build your brief around filling it and you give Google a reason to rank your post alongside established competitors.
Step 3: Build an AI Content Brief That Actually Controls the Output (10 Minutes)
The Seven Brief Elements That Prevent a Full Draft Rewrite
Skipping the brief is the single most expensive mistake in AI blog writing. Without one, you get a generic draft that answers no specific question for no specific reader. Rewriting that costs more time than starting from scratch.
Write the brief first. Always.
Seven elements your brief needs:
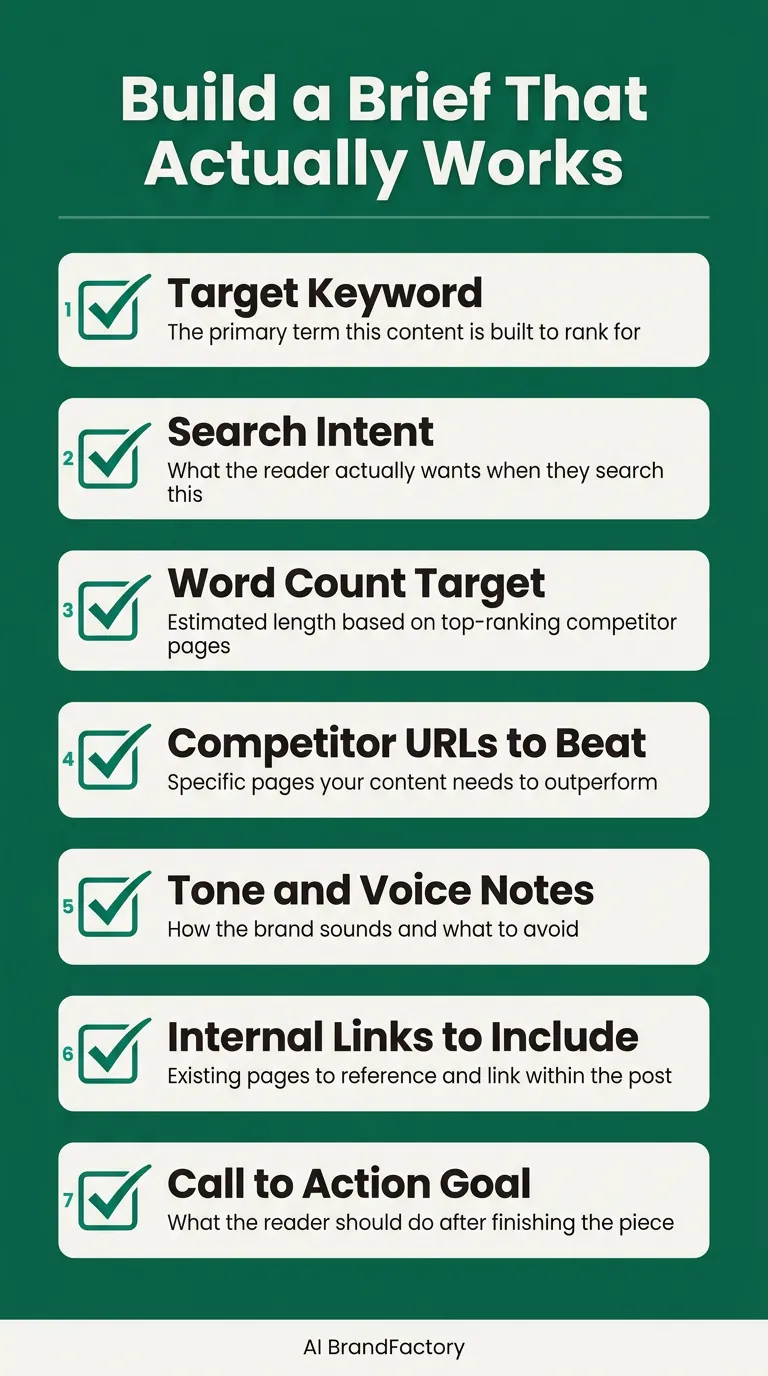
- Primary keyword and intent signal
- Target audience level and core pain point
- Outline structure pulled from your SERP analysis
- Tone (conversational, technical, authoritative)
- Target word count
- Any mandatory statistics or sources
- Competitor angles to avoid or counter
Each element narrows what the AI can produce. Fewer constraints equal more drift. More drift equals more rewriting.
AI content strategy at this stage is about control, not creativity. Skip the multi-tool juggling act entirely, and AI BrandFactory’s Blog Writer compresses Steps 3 through 5 into a single action, handling the brief, draft, and humanization pass in one platform. A practical time-saver for bloggers who want clean output without sacrificing SEO quality.
Step 4: Generate the AI Draft Without Losing Control of the Output (15 Minutes)
Why Section-by-Section Prompting Beats One Giant Prompt Every Time
Feed your complete brief into ChatGPT or a dedicated SEO writer AI. Don’t prompt for the entire post at once.
One giant prompt produces one uncontrollable output.
Prompt section by section instead, one H2 at a time. Each prompt references the brief and the specific heading you’re drafting. Off-topic tangents get caught immediately, before they compound into a full section that needs scrapping. Raw output from section-by-section prompting is cleaner, more focused, and significantly easier to work with during the humanization pass that follows.
AI BrandFactory’s Blog Writer handles this step as part of its 3-in-1 pipeline, brief, draft, and humanization, a workflow accelerator for bloggers who want to cut production time without sacrificing SEO quality.
Step 5: Run the Humanization Pass So It Reads Like a Person Wrote It (20 Minutes)
Raw AI output is not publish-ready. Full stop.
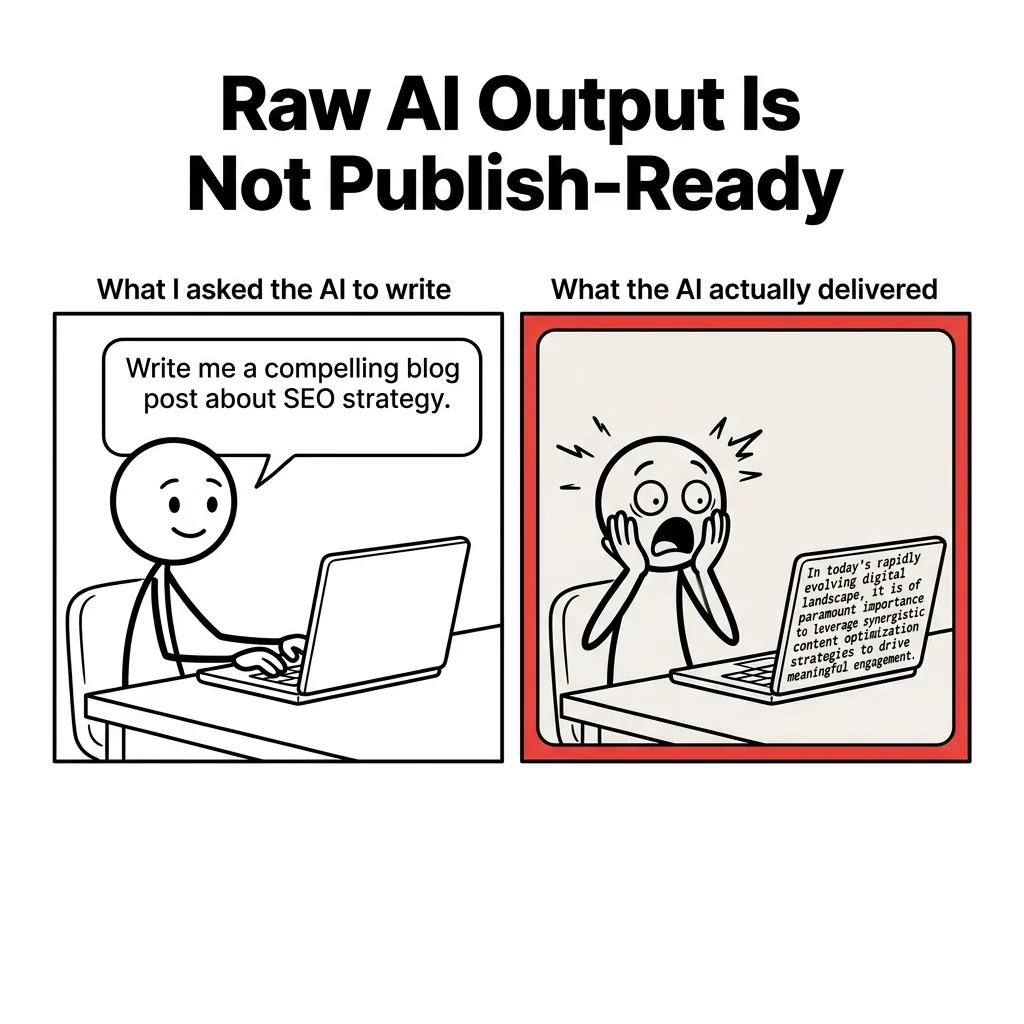
The humanization pass is not optional polish – it’s a production step. (Most bloggers treat it as optional until a client flags the writing as robotic, which is a painful way to learn.) AI defaults to uniform sentence length, passive constructions, and filler transitions no human writer reaches for naturally. Leave those patterns unfixed and you’re triggering AI detection tools while losing readers inside the first two paragraphs.
Work through the draft section by section. Don’t skim it.
Pull out every filler transition – “In conclusion,” “It is important to note,” “Furthermore” – and replace each one with a direct statement. Vary sentence length on purpose: short sentence. Then a slightly longer one carrying real detail. Then shorter again. Drop one specific, first-person or industry-specific example into each major section – that experience signal is exactly what Google’s quality guidelines reward. And check every statistic against its source before the post gets anywhere close to a publish button.
Step 6: Add E-E-A-T Signals or Watch Google Ignore Your Post (15 Minutes)
Four Concrete E-E-A-T Additions You Can Make in Under 15 Minutes
Google’s quality guidelines are explicit about what separates helpful content from filler. Google’s helpful content guidelines define four dimensions – Experience, Expertise, Authoritativeness, and Trustworthiness – and AI-generated drafts, even solid ones, land thin on all four by default. Experience means you were physically present. Expertise means genuine depth on the subject. Authoritativeness means credible sources back your claims. Trustworthiness means readers can verify what you’re saying. Each dimension maps to a specific editorial action you can complete in minutes, not hours. No complete rewrite required.
One action per E-E-A-T dimension.
- Drop in one sentence describing direct personal experience with the topic – “I’ve run this workflow on 40+ client posts.”
- Put an author byline with relevant credentials on the post itself.
- Cite at least two credible external sources with linked attribution inside the body copy.
- Every statistic gets a link back to its primary source.
Step 7: Optimize On-Page SEO After the Content Is Solid (10 Minutes)
The Six On-Page Elements That Move the Ranking Needle Most
On-page SEO is a layer you apply once content quality is already there. Running optimizations before the draft is solid wastes your time. SurferSEO is the right tool for this stage – score your content against the target keyword after humanization and E-E-A-T signals are locked in.
Six elements to check before you publish. Work through them in order.
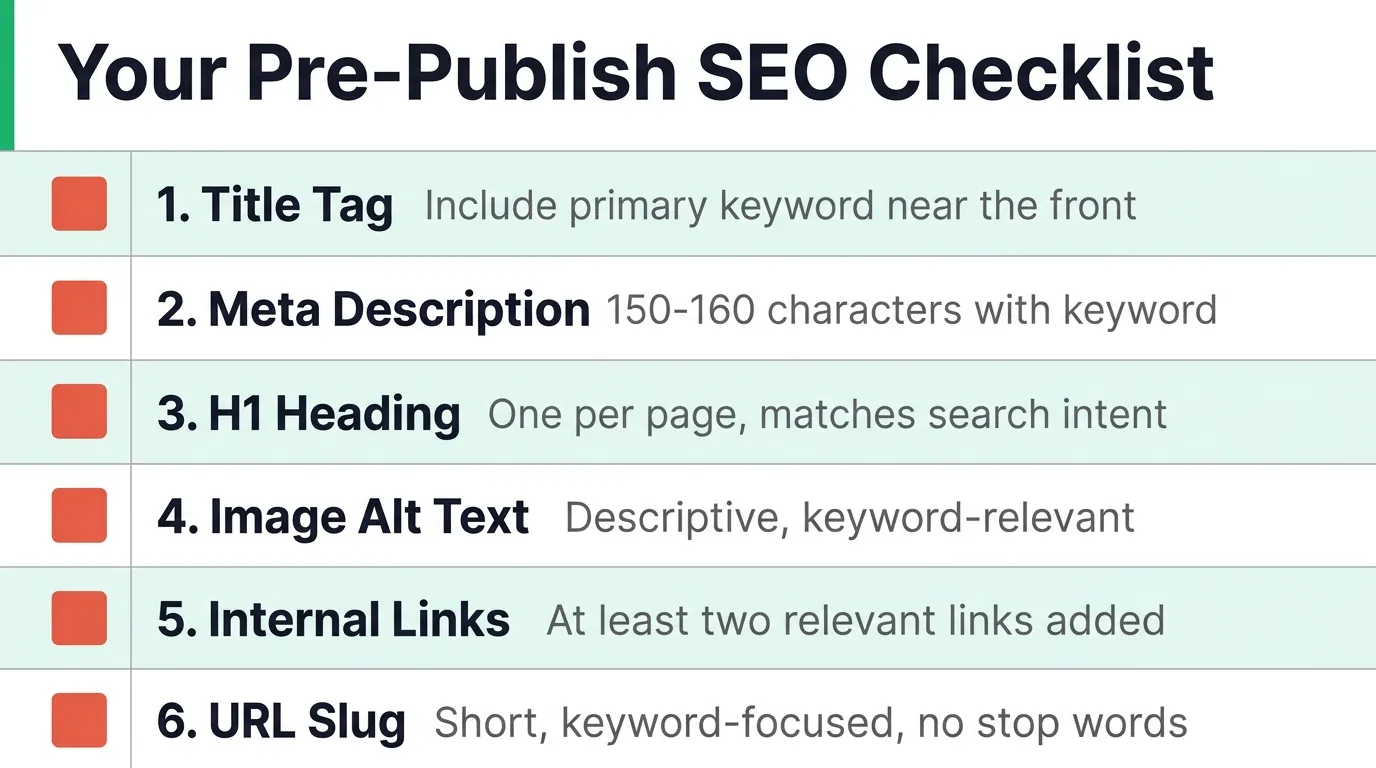
- Title tag: primary keyword within the first 60 characters, full stop.
- Meta description: keyword present, clear value hook, under 160 characters.
- H1 must contain the primary keyword – not a variation, the actual keyword.
- Internal link: drop in one internal link to an existing post on a closely related topic.
- Alt text: write descriptive alt text for every image (keyword where it fits naturally, not shoehorned in).
- URL slug: short, keyword-included, no filler words.
Step 8: Publish and Get Google to Index It Fast (10 Minutes)
How to Request Indexing in Under Two Minutes After You Hit Publish
Publishing without requesting indexing is passive. Google will find your post eventually, but eventually can mean weeks.
Open the Google Search Console URL inspection tool right after publishing. Paste your post URL, run the inspection, and click “Request Indexing.” Per Google Search Central documentation, this signals Googlebot to prioritize crawling your new URL. On that same day, add an internal link to the new post from an already-indexed, high-traffic page on your site. That internal link gives Googlebot a direct path to your content even before the indexing request processes.
For established domains, realistic indexing typically takes 24 to 72 hours. Newer sites can wait longer (up to two weeks is not unusual). A slow index is not a content quality signal, so don’t read into it.
That closes the full workflow. Keyword to indexed post, eight steps, one repeatable system.
Conclusion
Eight steps. About 95 minutes. One publish-ready, SEO optimized post with a clear keyword target, SERP-grounded structure, humanized copy, and E-E-A-T signals Google can actually read.
That’s the full AI content workflow, compressed into a production checklist you can run today.
Want Steps 3 through 5 handled in one platform instead of three separate tools? AI BrandFactory Blog Writer pulls the brief, draft, and humanization pass into a single action – worth a look before you build out your full stack.